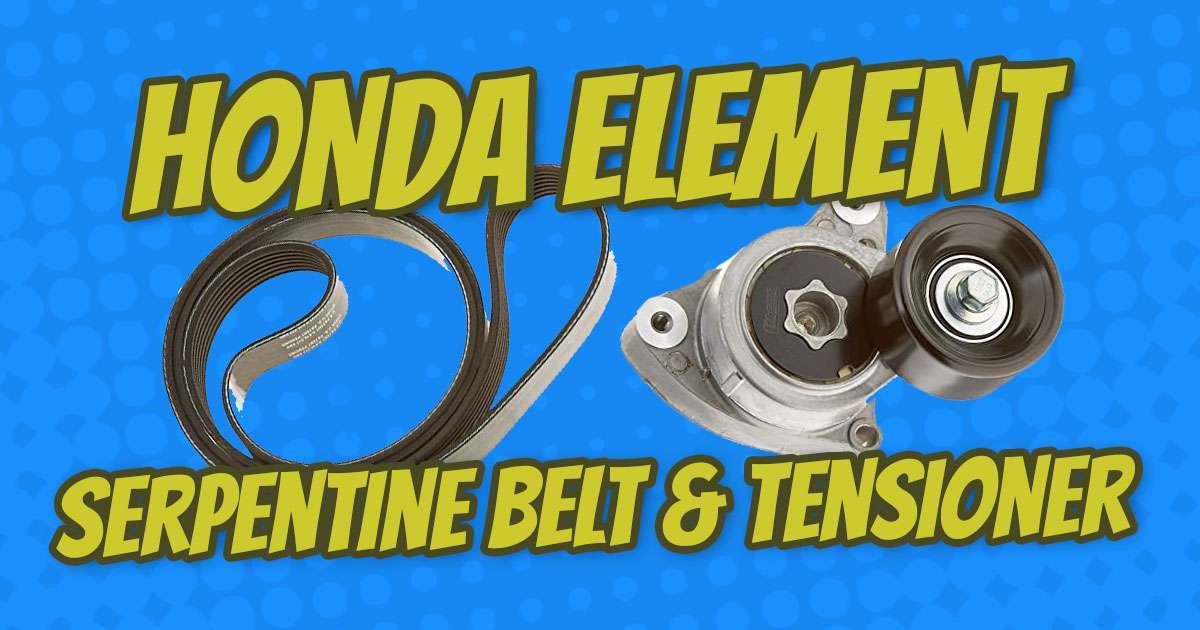
How To Replace Honda Element Serpentine Belt
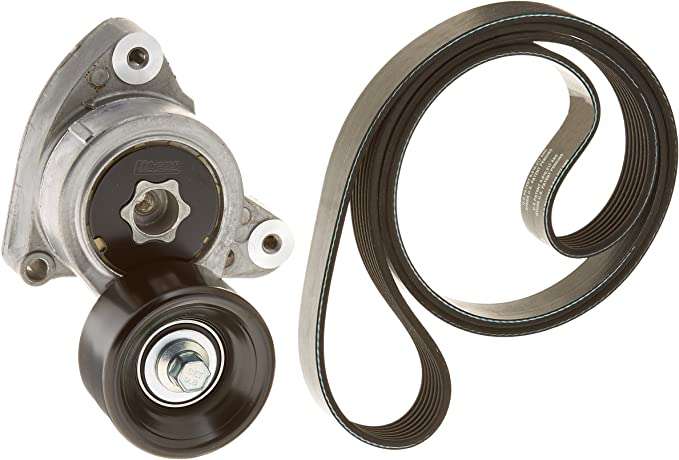
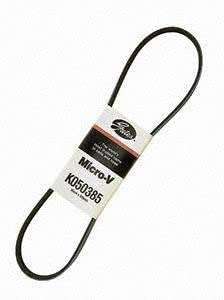
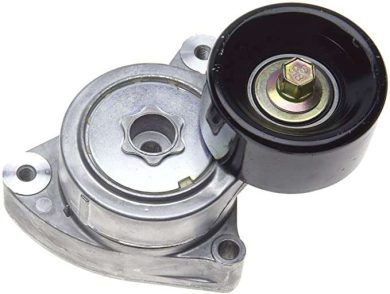
Replacing your serpentine belt is not as difficult as it may seem. You don’t always need to replace your tensioner but if you have the belt off it might not be a bad idea to replace it while you are half way there.
It shouldn’t take you more then 10 or 20 minutes to fully complete this job but be careful not to pinch your fingers or let the tensioner slip while your fingers are under the belt.
Follow this Step by Step Guide
-
Remove Lower Plastic Splash Guard
The first thing you need to do is remove the lower plastic cover to gain a little better access to the belt from the underside because you will need to twist the belt later to get it to come out.
-
Support Motor with Jack
The next thing you need to do is support the motor from below with a jack but be careful not to put too much pressure on the oil pan, you can use a scrap piece of wood to distribute the pressure evenly across the oil pan and transmission.
-
Remove Ground Strap
The next step is to remove the 10mm bolt holding the ground strap to the metal bracket of the motor mount.
-
Remove Motor Mount Bracket
Then use a deep 17mm socket to remove the three bolts holding that metal motor mount bracket and remove that from the engine bay.
-
Release Tensioner and Remove Belt
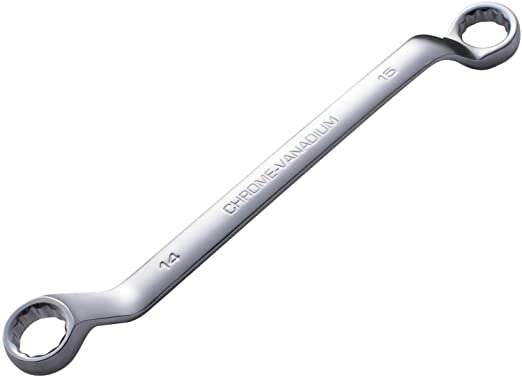
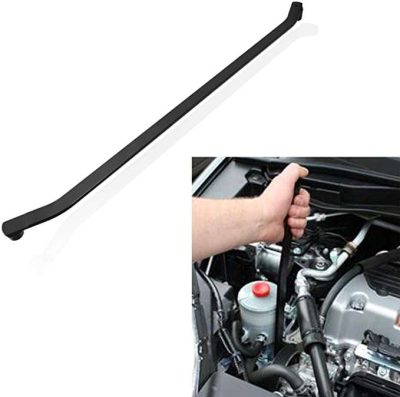
Next you need to grab a 14mm wrench, offset works the best, or a specific tensioner tool if you are fancy or have one on hand and pull the tensioner until you have enough slack to slide the belt off one of the upper pulleys. You can then gently release the tensioner.
-
Reinstall Belt
Follow the routing guide below to reinstall the new belt and you are done!
HONDA ELEMENT SERPENTINE BELT ROUTING DIAGRAMS
How To Replace HONDA ELEMENT Tensioner
If you need to replace your tensioner because it is squeaky, damaged or you just want to perform some routine maintenance don’t re-install the belt yet. Follow these steps to replace the tensioner
-
Remove Power Steering Pump
Take a 14mm and remove the two bolts holding the power steering pump out and move the steering pump out of the way.
-
Remove Tensioner
Then use your 14mm to remove the bolts holding the tensioner on and replace it with the new one.
-
Install New Tensioner
Follow the directions in reverse order to install everything again.
HONDA ELEMENT Tensioner Torque Diagrams
Clean or replace VTC Strainer Screen
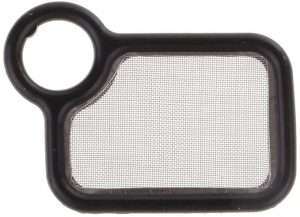
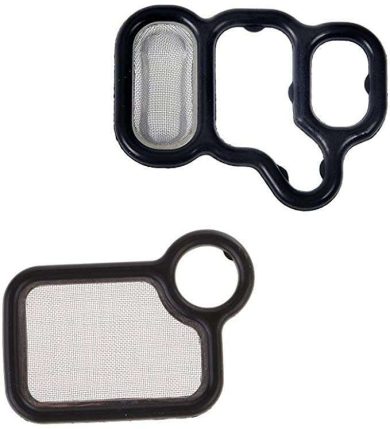
It’s a REALLY good idea to clean your VTC strainer screen with some brake cleaner or even replace it if you see that the rubber is dry and brittle. If you have the power steering pump and tensioner removed it is just two 10mm bolts that hold on this rectangular metal plate just behind where the tensioner sits.
VTC Stainer Location
VTC Stainer Location closeup
dirty VTC Stainer screen
clean VTC Stainer screen
Tools you may need for the job

Honda Element Technical Service Bulletins
Over the years Honda has released a number of TSB's to help Honda technicians repair common problems. We got our hands on them and they are all presented here to help you fix some of these common issues at home.
Honda Element Service Manual
The ultimate guide for servicing your Honda Element. This manual will show you everything you need to know about servicing your Honda Element, from oil changes to torque specs. It also provides helpful tips to maintain your Element.

Honda Element Diagnostic Code Meanings
Full list of all of the possible OBD2 code readings that can occur when that pesky check engine light illuminates. These can give you a start to help you diagnose your Element. Code Reader Link also provided if you want to own your own reader.
READ MORE BLOGS
How To Change Oil in a Honda Element 2003-2011
Tools & Materials Needed Pro Tips Why This MattersRegular oil changes prevent engine wear. The Honda Element’s K24 engine is reliable but thrives on timely...
Read MoreComplete Honda Element Tune Up Schedule Guide
Hey Element Enthusiasts! Your Honda Element isn’t just a car; it’s a trusty companion for adventures big and small. Whether you’re hauling gear, cruising the...
Read MoreHonda Element Cabin Air Filter Replacement Guide (2003-2011)
🛠️ Supplies Needed 📖 Step-by-Step Replacement Step 1: Open the Glove Compartment Step 2: Remove Glovebox Stops Step 3: Access the Filter Housing Step 4:...
Read MoreHonda Element Bulb Replacement Blowout Diagram Guide
Master Honda Element bulb replacements with our detailed blowout diagram guide! Perfect for DIYers, this visual resource covers headlight, tail light, and interior bulb locations...
Read More
